
Broke at the Wrong Time
Recently, while performing some maintenance around the shop, I used my Ryobi P731 tire inflator to check and adjust the tire pressure on the business delivery van. During inflation, the pressure hose burst. Fortunately, no one was injured, and I didn’t lose much air—I was able to disconnect the chuck in time to prevent further loss. However, this left me with a problem, as the inflator is my primary unit and a key part of my road kit for regularly topping off tires.
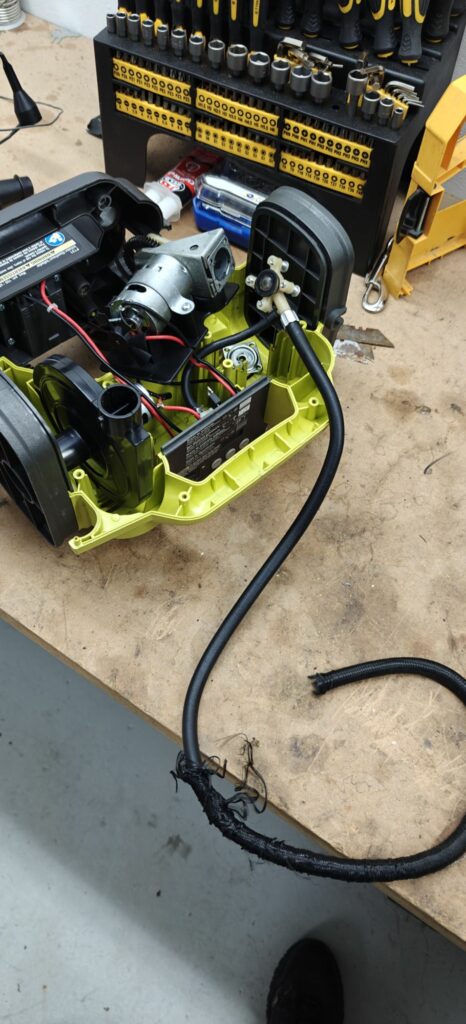
After some research this hose part is not available as this unit is now discontinued for the latest models on the market. I did reach out to the community on facebook and reddit and found others had the same issue and some have some with clever replacements. This wasn’t hard to fix but I wanted to keep this unity OEM as much as possible but when that option gets exhausted I move onto what I can do custom with off the shelf parts.
Here is what I came up with with a short visit to Walmart…
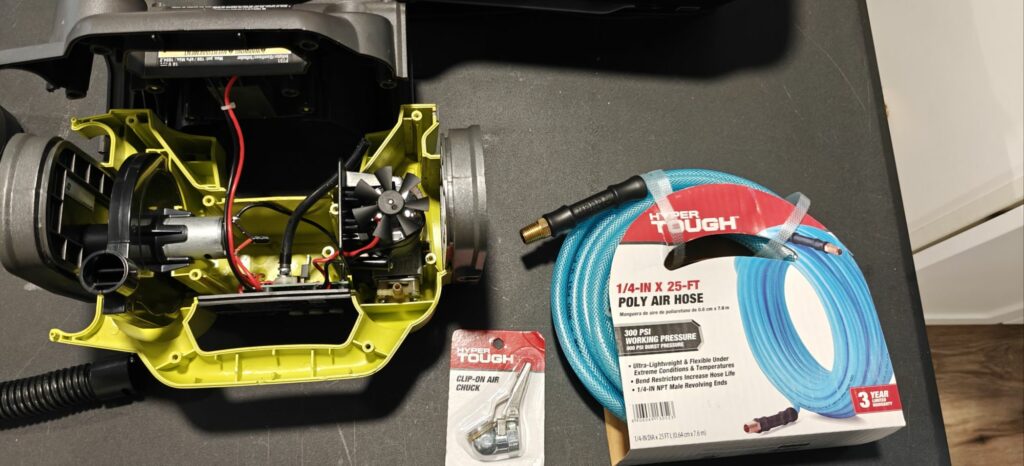
Parts List
- Hyper Tough 25′ 1/4″ air hose (smallest I can find)
- Clip Air Chuck
- Smallest Hose Clamps available.
Disassembly
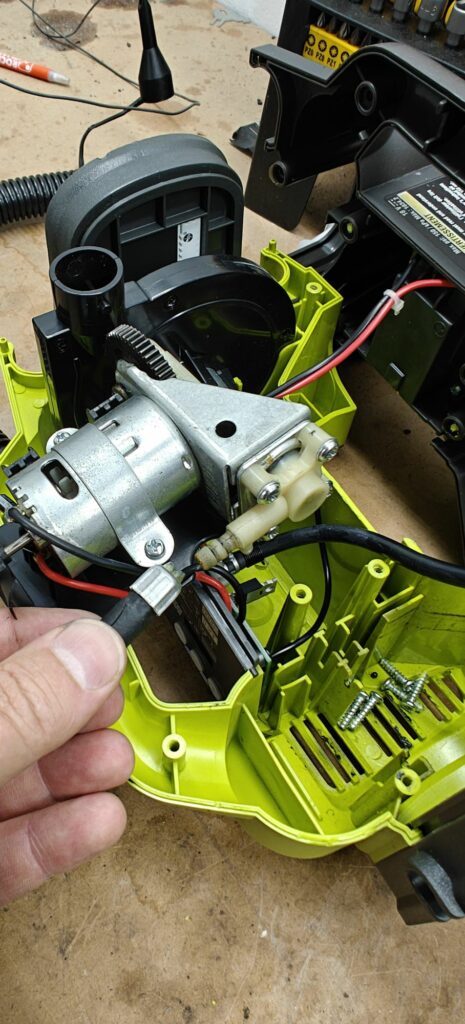
Took apart the inflator by its 10 screws located at the rear of the unit. Once the screws are removed the unit splits apart easily. If you looking for the 10th screw its located under the label in the rear. You can feel it out by rubbing your finger over the label find the indent.
Remove the old hose by using some force to pull it off the plastic barb. The hose is held in by the metal containing ring on the hose so some pressure will remove it. Discard the old hose and ring as this will be replaced by the new hose and hose clamp.
Reassembly
We are now at a point to put it all back together. I didn’t need 25′ of pressure hose but I thought it would be good to have length on the the hose for any need that may come up as I always thought the factory hose was too short. I cut my new at 4 feet roughly keep the 1/4″ end for attachments. Now was can attach the hose to the pump side using a small hose clamp. Be sure to route your hose through the inflators body like the old hose did.
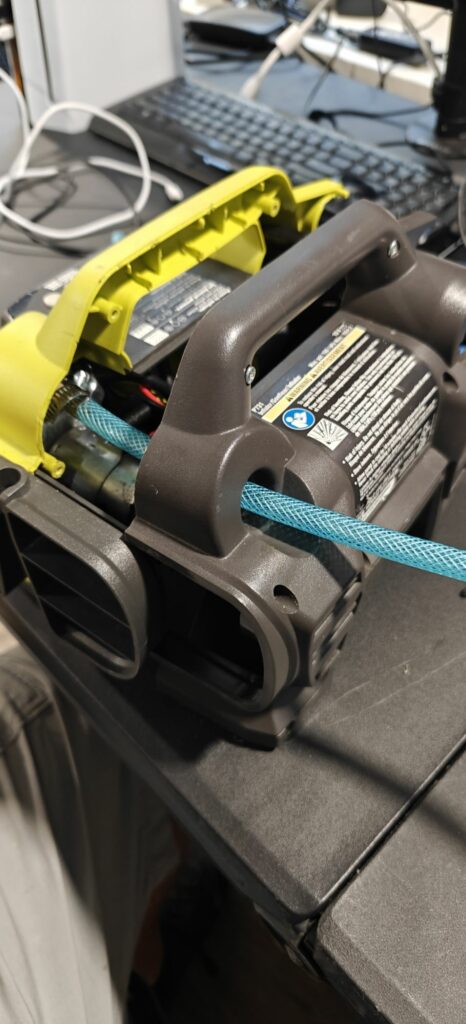
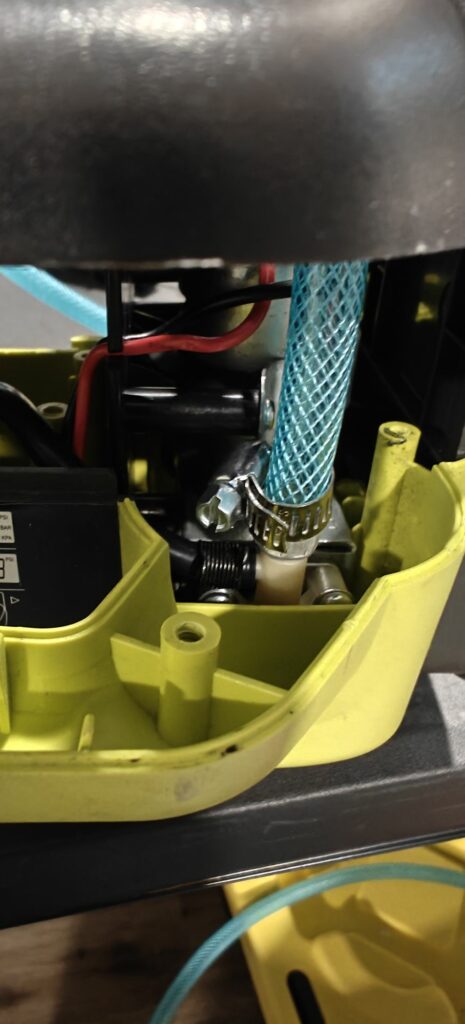
Once done you should be able to put the body of the inflator back together with the 10 screws you took off earlier. You should end up with a final assembly like the pick below.
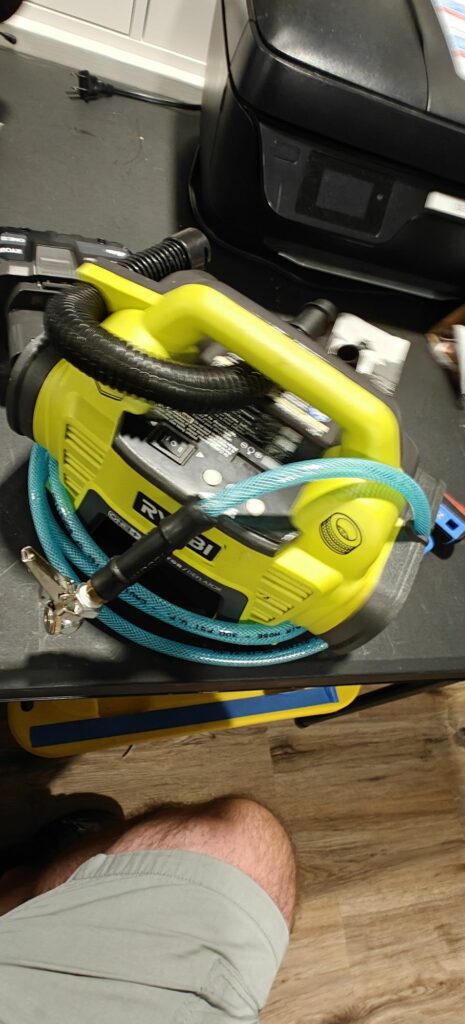
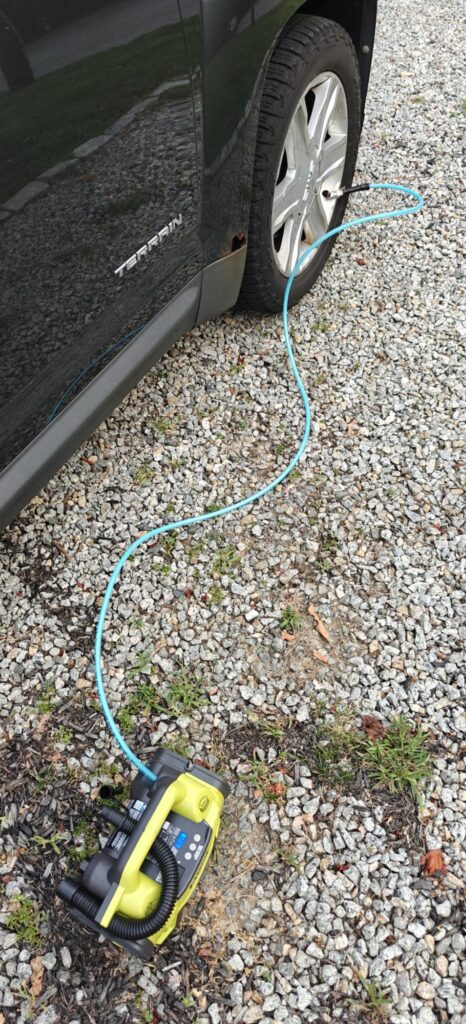
That’s it. Your ready to inflate tires again. What I like is now I have options to use air tool attachments on the inflator now. Granted this does not make enough pressure to run air tools but you can use different inflating tools now. Enjoy your repair. You can basically apply this to any application that needs this type of repair.
Leave a Reply